How to Buy and Sell NFTs with a MetaMask Wallet on OpenSea
Today, we’ll learn how to buy an NFT on an open marketplace using a self-custody wallet.
Ethereum, Polygon, Solana, and Tezos are the main smart contract blockchains that have active marketplaces for NFTs. And to buy NFTs on these blockchains, you'll need some of the blockchain's native currency to pay for the NFT and the associated fees. Ethereum, where most of the prominent collections are found, requires ETH.
Unfortunatley, during the peak NFT seasons, it was not uncommon for a single transaction on Ethereum to cost $150. If you’re buying a $50 NFT, a $150 fee doesn’t make sense.
Fortunately, blockchains like Polygon, Solana, and Tezos have fees that are often less than a penny. There aren't as many well-known collections that utilize these blockchains yet, but NFTs are still in the first inning.
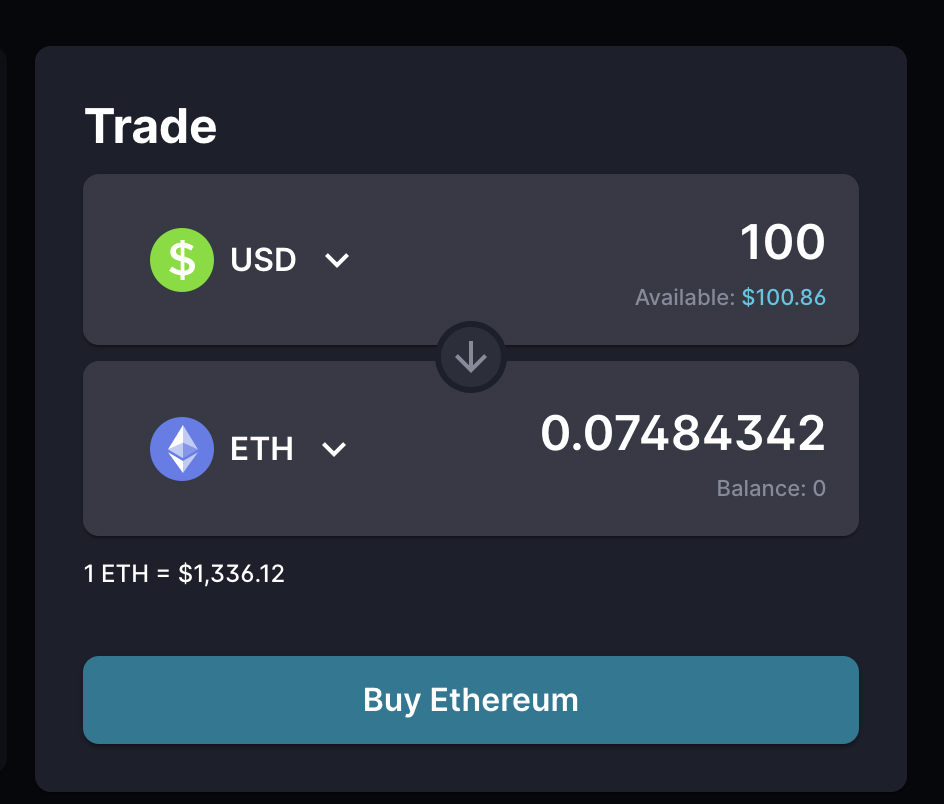
For our example, we’ll buy ETH on FTX, set up a crypto wallet using MetaMask, then buy an NFT on the Ethereum blockchain on the OpenSea marketplace.
The good news? Once you learn how to buy an Ethereum NFT, the wallet setup and buying process are almost identical with other blockchains, wallet providers, and marketplaces.
Buying an NFT on OpenSea using Ethereum
1. Get an Account With a Crypto Exchange
First, sign up for an account on a crypto exchange. Coinbase, FTX, Gemini, Crypto.com, and Binance are all reputable companies. It doesn’t matter which you choose, but you’ll need to pass a KYC verification by providing the company with a form of identification.
2. Buy Crypto and Wait a Week
Once verified by your exchange, figure out which currency you need. If you want to buy NFTs on Ethereum via OpenSea, you’ll need ETH. If you want to buy NFTs on Solana via Magic Eden, you’ll need SOL.
For this example, we’ll buy ETH on FTX.
After buying ETH, we need to withdraw it from the FTX, but due to regulations, you can’t withdraw cryptocurrencies from an exchange until seven days after buying.
While we patiently wait, we can work on the next step.
3. Create a Digital Wallet
Now, we need to create a wallet. There are tons of wallet providers and they’re all free to use.
For Ethereum NFTs, the most widely used wallet is MetaMask. It has a phone app and a desktop browser extension. (Lots of crypto and NFTs can be done on a phone, but I highly recommend a desktop for trading NFTs because it gets messy on mobile.)
For this example, we’ll use the MetaMask desktop browser extension. Be sure to download it directly from MetaMask.io (there are lots of fake websites).
Once you’ve downloaded MetaMask, you should be greeted with a screen that looks like this:
Now, click “Create a Wallet.”
Now, create a password. This password isn’t important and can easily be reset if you forget it.
Next up is the most important step. You’ll be presented with a list of 12 words that are your “secret recovery phrase,” sometimes referred to as a “seed phrase.” This recovery phrase protects your private key.
Now, write your recovery phrase on a piece of paper. Store the paper in a safe place on a piece of paper, then make a backup that's kept separate from the original piece of paper. Only in desperate cases, should you copy your phrase in a documents app or screenshot it.
Now, click on the words presented in the order that matches your recovery phrase. Once you type your recovery phrase into your wallet provider, you should never type it again.
For those who didn't see it: NEVER TYPE YOUR SECRECT PHRASE
And under no circumstances, should you ever share this 12-word phrase with anyone. It’s for your eyes only. If someone gets a hold of it, they’ll have full control of your assets.
I’ll cover in-depth NFT security in a future post, but as long as you understand the need to guard your phrase with your life, you’re in a good position.
Now, that you've entered your recovery phrase into MetaMask, you officially have a wallet setup inside your web browser. You can bring your recovery phrase into any compatible wallet provider/app (Coinbase, Rainbow, etc) and you'll have access to all your assets.
4. Transfer Crypto to Your Wallet
After it’s been seven days since your purchase of crypto on an exchange, it’s time to send crypto from your exchange to the wallet associated with your MetaMask.
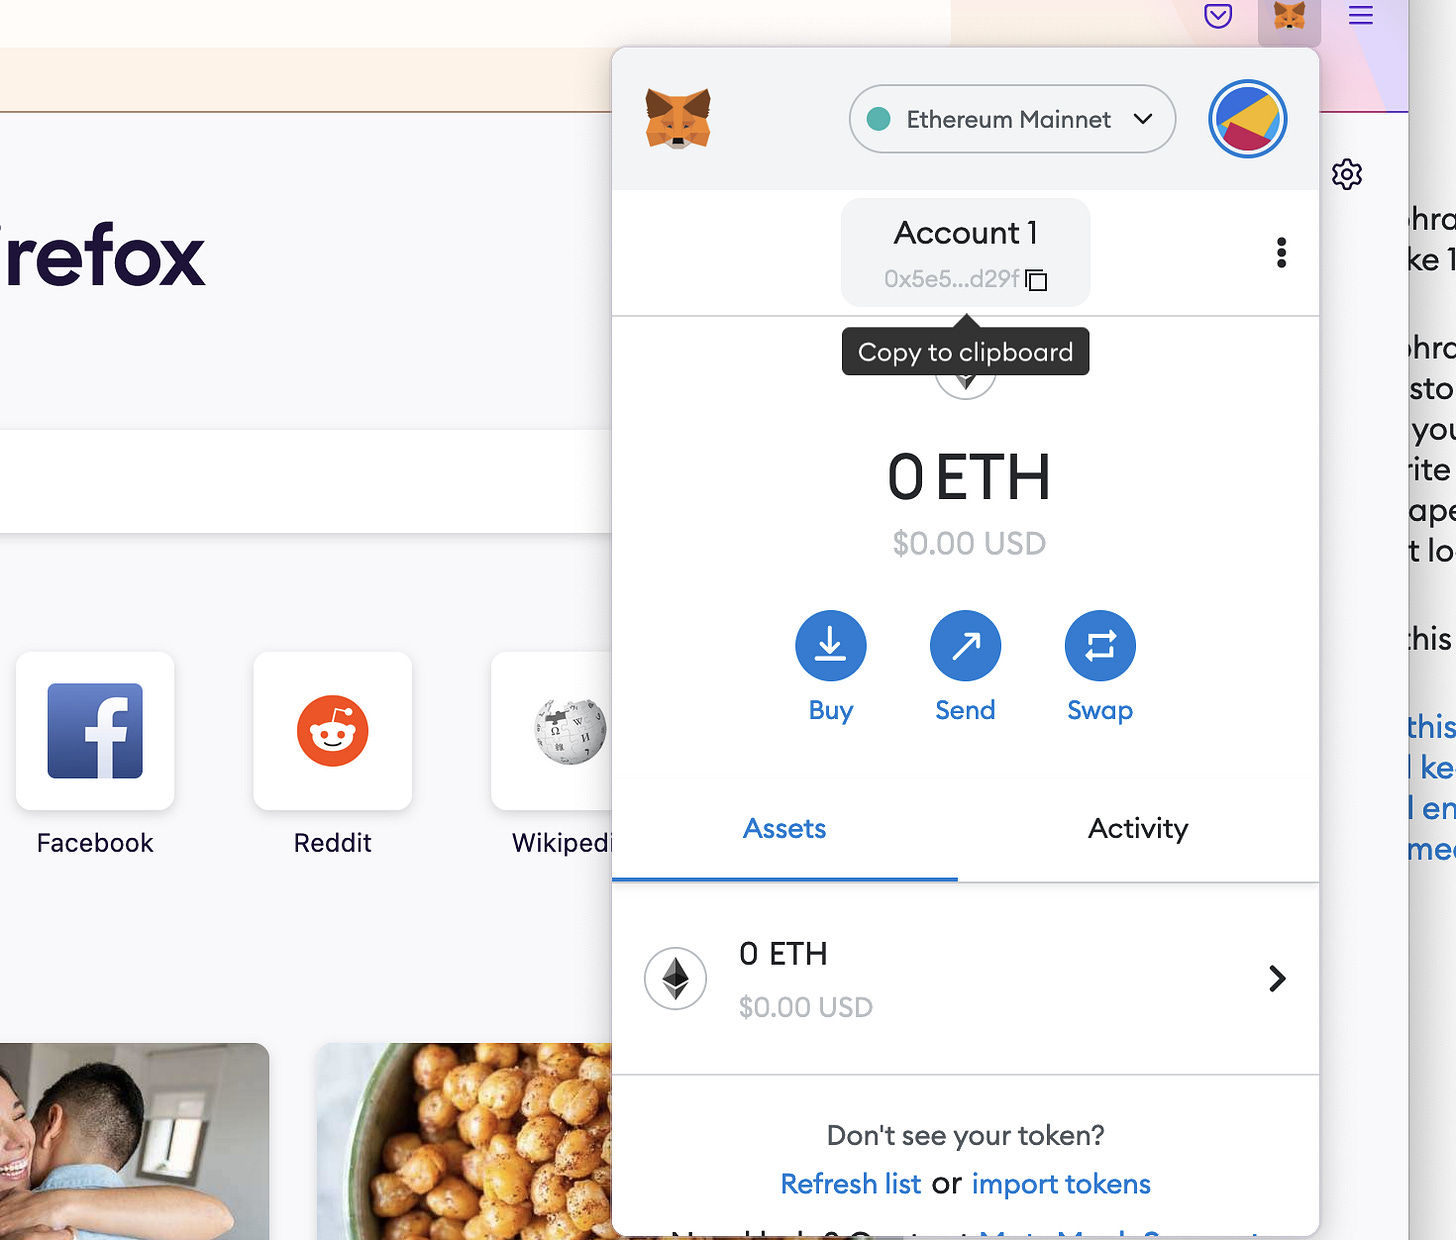
To send crypto, we need to locate our public wallet address. If you click on the MetaMask extension inside your browser, your wallet address is located near the top of the app. It’ll start with “0x….” and it’ll be followed by a string of 40 numbers and letters. You don’t need to memorize your address and you don’t need to protect it. If you present someone with your address, the only thing that they can do is send you money. It's safe. However, keep in mind, if you share your address with someone, they're able to view what’s in your wallet.
Once you’ve located your public address, copy it to your clipboard.
Open your crypto exchange app to find the crypto you purchased seven days ago. From there, you should find a "withdraw" or a "send" button, depending on the app you use. Then, enter the amount you want to send, copy your public address from your MetaMask into the "to" field, and tap send.
Assuming you’ve passed your identity check and nothing looks fishy to the exchange, the funds should arrive in your wallet within 10 minutes or so.
5. Sign Into an NFT Marketplace With Your Wallet
Now that we've got a funded MetaMask wallet, we're ready to sign into a marketplace. Because we've got ETH, our two best marketplace options are OpenSea and LooksRare.
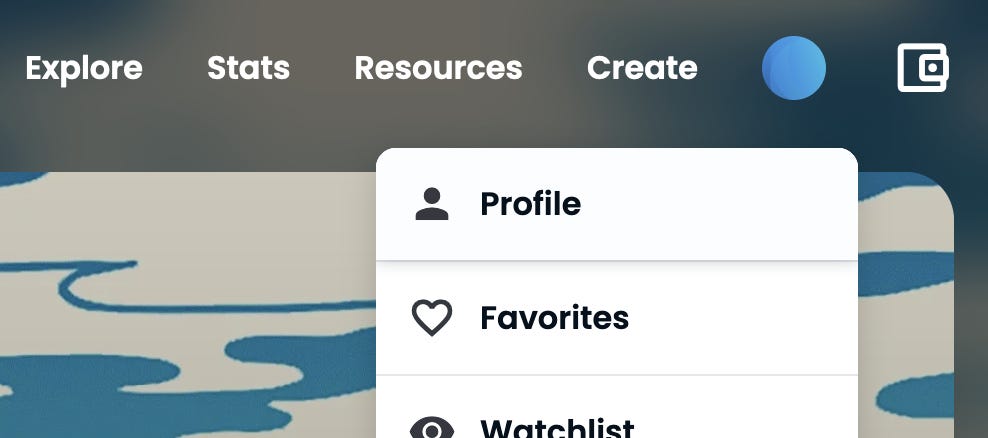
To buy on OpenSea, we’ll go to opensea.io, and click on the head icon (top right corner), then “Profile”.
Now, choose which wallet provider you’re using, in our case, MetaMask. Finally, click "Accept and Sign" and a window will pop up in your MetaMask asking you to sign a message. After you've signed the message, you officially have an OpenSea account.
You can just as easily sign into the LooksRare or X2Y2 marketplaces in the same way with your MetaMask wallet.
6. Find an NFT & Sign the Transaction
Now, let’s browse the marketplace for an NFT to buy. And we'll click "buy now" and then "complete purchase" once we find something to buy.
A new window should show up on your MetaMask.
You'll see an estimated "gas fee" added to the purchase price. This fee is the cost to use the Ethereum network. Depending on the time of the day and the overall state of the market, the fees will vary heavily. Currently, it costs about $5 to buy an NFT, which is relatively low for the Ethereum network.
MetaMask does a solid job of estimating how much you should pay for gas. If you become an expert, later on, you can edit this depending on what you're trying to accomplish.
If everything looks good, we'll sign the transaction, which tells the network of Ethereum nodes, what you're trying to buy and how much you're willing to pay. Once your transaction is in the pool of pending transactions, you have to wait for a validator to confirm your transaction. We can watch our transaction on Etherscan.
If you submit a transaction as MetaMask presents it, it will typically take between 45 seconds and 5 minutes to confirm. But sometimes transactions can get stuck in the pool and take hours to confirm if the conditions of the network can change rapidly. If this happens, we can resubmit our transaction a second time by adding more gas.
Once a transaction is confirmed on Etherscan, you’re officially the owner of your first NFT. You can view your NFT inside the OpenSea profile viewer and it should show up with any other wallet viewer.
Wrap Up
We just bought an NFT on an open marketplace with a decentralized wallet using ETH on the Ethereum network, after buying crypto on FTX, but we would’ve just as easily bought SOL on Coinbase and used the Solana network.
While we haven't covered advanced security tips yet, you should have at least a basic foundation of how things work.
If all of this sounds intimidating to you, I highly recommend playing around on Nifty Gateway or NBA Top Shot first to get your feet wet.
Buying NFTs with a self-custody wallet won’t be for everyone, but if you want a taste of true ownership, you need to try it!
At this point, you might be wondering what you should buy…so that’s what we’ll cover next week! I’ll give you a few interesting projects that cost less than $50 that are worth looking at.


